SniperFast plugin configuration for WooCommerce
First installation or update
After downloading the plugin from the SniperFast Manager (during the onboarding phase or from the AI Search – Configuration – Plugin section) you will have to upload the zip file on your website, in the Plugins – Add plugin, clicking on the Add plugin button.
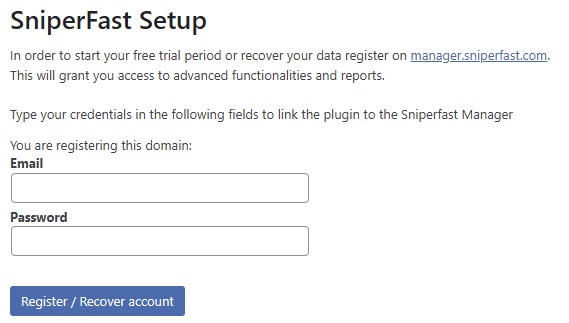
Once the installation procedure is over you will be able to enter the plugin: you will be presented with the login panel.
Fill in the e-mail and address you login on SniperFast Manager and click on Register/Recover account.
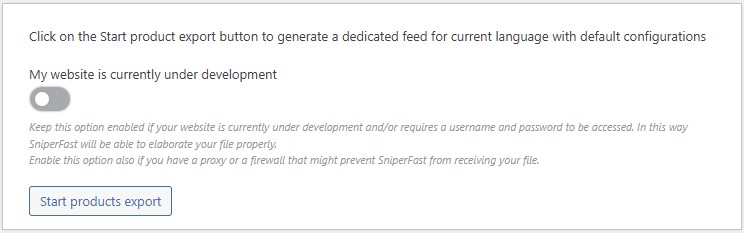
Click on Start products export. Should your website still be in development or not reachable from the outside, enable the My website is currently under development option too, otherwise SniperFast will not be able to get the file you created.
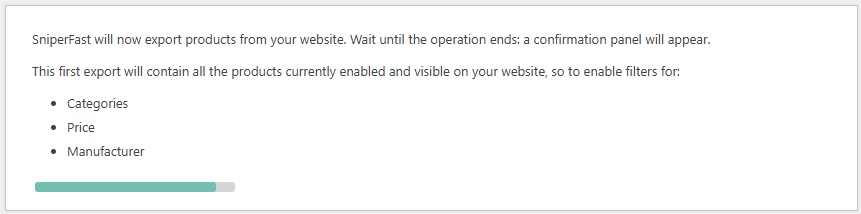
The first export will contained a predetermined set of data: in the search panel you will find filters for categories, manufacturers and price. Additional data can be enabled in a second moment.
In the next part you will be able to follow the export process procedure. Wait for the operation to be completed and for the bar to turn completely green.
Once the file will be sent to our servers it will pass a few minutes before of its elaboration. You can follow its elaboration status in the next step.

Wait for the bar to become completely green here as well. Click on Try now! to check that everything is working fine.
Using the Go to plugin button you will have access to further configurations for the export process and functionalities.
Should the search not appear after placing the mouse inside of the search bar, go to the Manager to manually configure it.
Customize exported data
If you want to improve the search with additional side filters or, on the contrary, you would like to remove certain products from the results, take advantage of the different tabs of the module to customize the export as you prefer.
Configuration tab
- Export only products with stock: select Yes/No if you want the search to return only active and in stock products.
- Image format: it will set the image format that will be used in the product miniature used by the search engine. Unless you have a template with specific configurations, we advise to use one that does not exceed 250 x 250 px.
- Variant prices: select which price to show to customers if a product has combinations. Base price will show the “father” product price: use this option if your combinations don’t have any price difference. Maximum variants price and Minimum variants price will instead export the price for the most expensive or the cheapest combination, respectively.
- Remove VAT from prices: enable this option if you want to export prices VAT excluded.
Attributes
In this tab you can select which attribute to export. In this way you can use them to create the side filters in the search results panel, so to let your customers find quicker the desired products (for example clicking on Color -> Green and Size -> M).
Make sure to perform a new export from the Export tab every time you perform modifications in this panel.
Products / Categories exclusion
If you need to remove specific products’ categories or specific products from the search results, the plugin offers you the possibility to do so by filling in the respective IDs in two distinct files.
Go to the wp-content/plugins/sniperfast folder on your website. You will find there two files: categories_excl.csv and products_excl.csv. Fill in the categories’ IDs in the first file, products’ IDs in the second one. If a product is associated to one of the categories added to the gile, then it won’t be exported; the same will happen if an ID is present with the products’ file.
Prestalia is currently working to semplify this procedure by creating a dedicated interface where to perform these operations.
Export
From this tab you can export your feed to update the search results. The operation can be performed manually or in an auomatic way configuring a CRON on your website.
The Export info panel shows a brief summary of your server configuration: make sure that the destination folder is writable and that the export status reports OK.
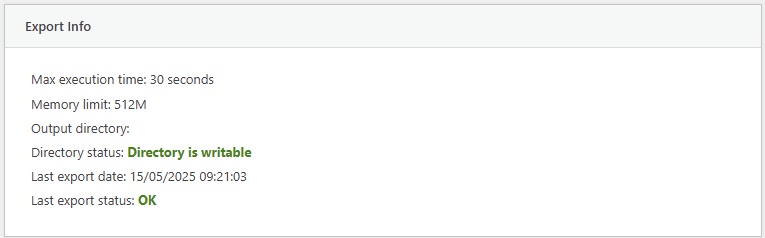
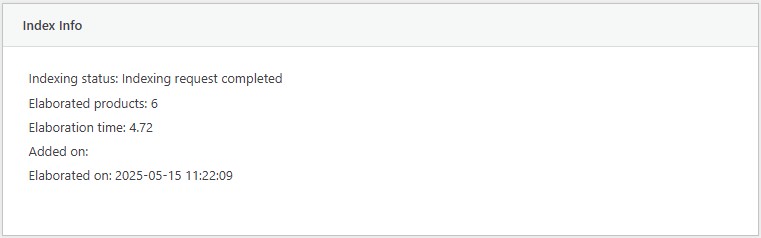
On the right, instead, you can find the Index info box, which summarizes the last file export status. You will find these information in the SniperFast Manager too, in the AI Search – Products indexing section: once you will configure a CRON you will be able to use the Manager to monitor the export process. Within the plugin you will find the number of products found within the file, the elaboration time and the time at which the operation ended. Keep in mind that the elaboration is not immediate: it will take a few minutes before that the file is read and elaborated, with times that depend on the size of the file itself.
The Export panel allows you to perform the actual update. By pressing the Export button, the operation will start in cycles, so as not to incur any limits and timeouts by the server.
Keep the My site is currently under development option active in case the site is still under construction or is not reachable from the outside: this will allow the plugin to use an alternative export method that will try to circumvent the problem.
Using the Download button you can save the file just generated on your computer. In case both export methods fail, this will allow you to upload the csv file to the SniperFast Manager and process it from there.
CRON
To keep your search results up to date, we recommend setting up a CRON on your server. A CRON is an automatic operation that runs at a pre-set time. Check with your hosting provider to find out how to install it correctly: some sites offer panels where you can simply copy the link provided by the plugin, others require the use of dedicated commands.
If you run the link via curl, make sure to put it in quotes, for example:
curl “cron_link”
This will ensure that all parameters are read correctly.
If a single CRON export cycle is not enough to generate the complete file, set as many CRONs as necessary. For example, if you have a max_execution_time of 10 minutes, but the file requires 15 minutes to be generated, then you can configure the CRONs as follows (the time is purely indicative):
10:00 first start
10:11 second start
The module also offers an advanced CRON mode: with this procedure, the CRONs following the first will be launched automatically if a single cycle is not enough. Check with your technician how to configure this mode.
Account
If you tested SniperFast on a development website and you now migrated to the production one, it is recommended to uninstall and reinstall the plugin. This will erase all your configurations, though.
To avoid this, click on the Logout button in this tab: you will be asked to login again and a proper index for the official domain will be created. Complete the onboarding procedure to have the correct links for products in your search results.
